
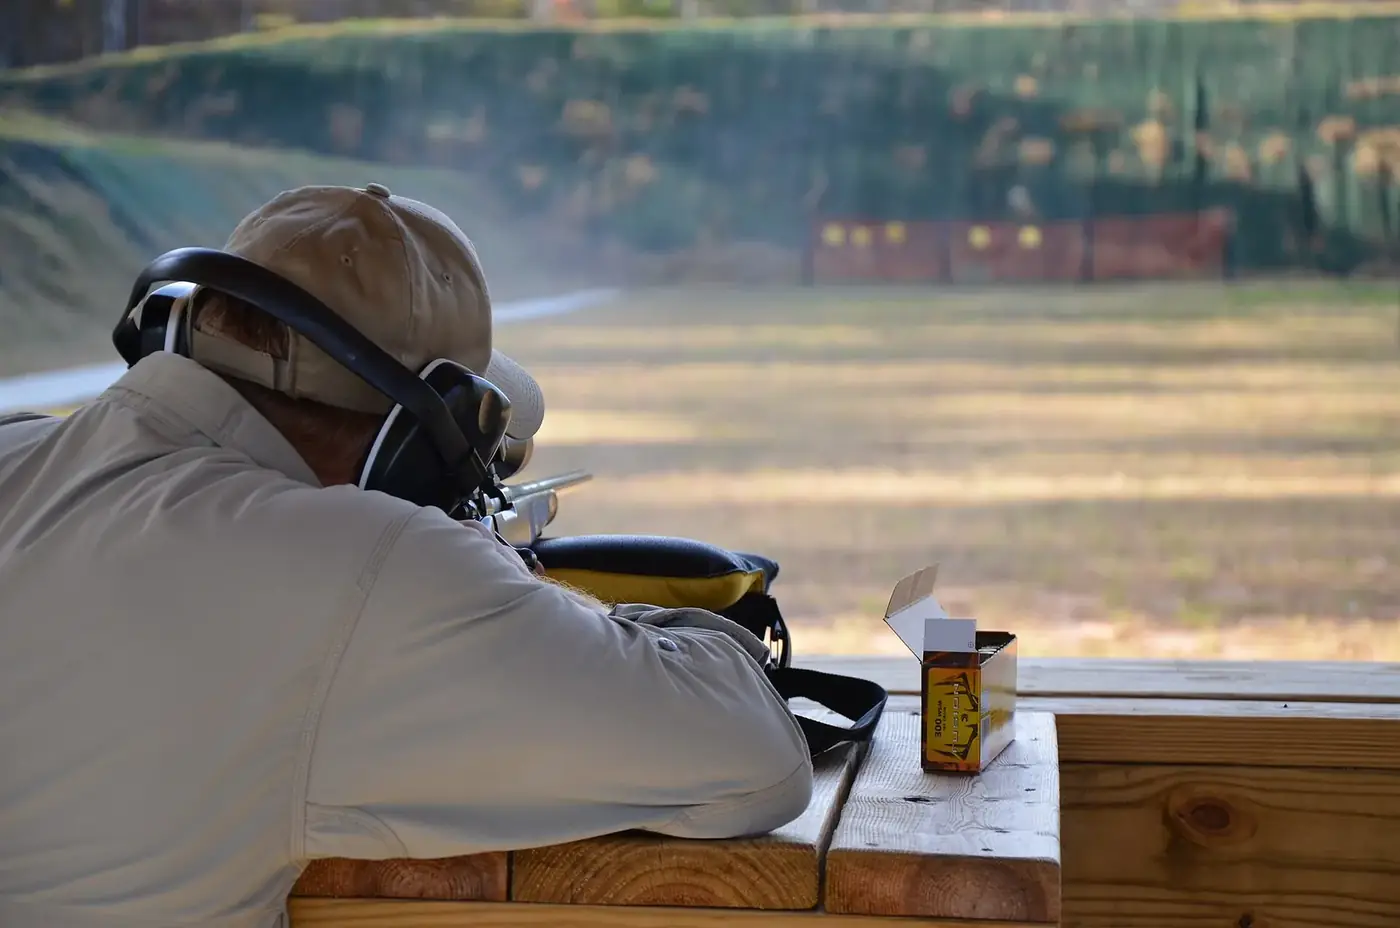
To sight in a rifle, bore sight it first so your first shots land on paper, then shoot three-shot groups at 25 yards to get close, move to 100 yards to set your zero, and adjust the scope from the center of each group, not from single shots. Shoot from a solid rest, let the barrel cool between groups, and finish by confirming zero with the exact hunting ammunition you will carry. Plan the trip a few weeks before the season opens, because ranges get busy right before opening day.
Key points
- Bore sight first, get on paper at 25 yards, then set your zero at 100 yards.
- Adjust from the center of three-shot groups, not single shots, and let the barrel cool between groups.
- With a 1/4 MOA scope, four clicks move impact about one inch at 100 yards.
- Confirm zero from a cold barrel with the exact hunting ammunition you will carry.
Before you go
Check the mounts. A scope that moves in its rings will never hold zero. Make sure base and ring screws are tight to the manufacturer's specified torque. A torque screwdriver takes the guesswork out of this. Also confirm the scope is level and that you have proper eye relief in your shooting position.
Pick your ammunition. Bring enough of your hunting load for several groups plus a confirmation group. Different bullet weights and brands, even in the same caliber, often hit in different places. If you practice with cheaper ammo, still do your final zero with the hunting load.
Know your zero distance. Many hunters zero at 100 yards. Others zero at 200 yards or use a point-blank approach so the bullet stays within a few inches of the line of sight out to a chosen distance. The ballistics chart published by your ammunition maker shows where your load will hit at other ranges for a given zero.
Find a range with enough distance. You need at least a 100-yard line. Many ranges in our directory have rifle lanes, and some have longer bays. Look at rifle ranges and long-range ranges, and check whether a range offers a day pass if you are not a member.
What to bring
- Your rifle, hunting ammo, and the rifle's scope caps and tools
- A shooting rest or front and rear sandbags
- Sight-in targets with a 1-inch grid, which make measuring adjustments easier
- A spotting scope so you can see 100-yard holes without walking downrange
- A laser bore sighter if your rifle cannot be bore sighted visually
- Hearing protection and eye protection
- A pen, a notebook and a stapler or tape to patch targets
The process at a glance
The five steps below take you from an unzeroed scope to a confirmed hunting zero.
| Step | What to do |
|---|---|
| 1. Bore sight | Align scope and bore so first shots hit paper |
| 2. 25 yards | Shoot a three-shot group and adjust to get close |
| 3. 100 yards | Adjust from group centers to set your zero |
| 4. Cool the barrel | Wait between groups and log adjustments |
| 5. Confirm | Cold-barrel group with your hunting load, then record it |
Step 1: Bore sight
Bore sighting gets the scope and barrel roughly aligned so your first shot hits the target.
- Visual bore sighting works on many bolt-action rifles. With the rifle unloaded and bolt removed, rest it securely, look through the bore from the breech, and center a target about 25 yards away in the bore. Without moving the rifle, adjust the scope until the crosshairs sit on the same spot.
- Laser bore sighters fit in the chamber, the muzzle, or attach magnetically. They project a dot you line the crosshairs up with. Follow the device's instructions and remove it before loading.
Bore sighting is a starting point, not a zero. Always confirm with live fire.
Step 2: Get on paper at 25 yards
Set a target at 25 yards. Settle the rifle on your rest so it sits steady without you holding it in place, aim at the center, and fire three shots with a steady, consistent trigger press.
Look at where the group lands, not the single best shot. Adjust the scope to move the center of the group to your point of aim. At 25 yards, each click moves impact only a quarter as much as it does at 100 yards, so expect to turn the turret a lot more than you think.
The goal at 25 yards is simply to be close to center. Do not try to fine-tune here.
Step 3: Move to 100 yards and set your zero
Move the target to 100 yards and fire another three-shot group. Measure how far the center of the group is from your aiming point, up or down and left or right, then adjust.
MOA basics
Most hunting scopes adjust in minutes of angle (MOA). One MOA is about 1.047 inches at 100 yards, which most people round to one inch. It grows with distance: about 2 inches at 200 yards and 3 inches at 300.
Many scopes move 1/4 MOA per click, so four clicks shift impact about one inch at 100 yards. Check your scope's turret or manual, because some use other values. Scopes marked in MRAD (mils) commonly move 0.1 mil per click, which is about 0.36 inches at 100 yards.
| Scope adjustment | Per click at 100 yards |
|---|---|
| 1/4 MOA | About 1/4 inch (4 clicks per inch) |
| 0.1 mil | About 0.36 inch |
Example: with a 1/4 MOA scope, a group centered 2 inches low and 1 inch left at 100 yards needs about 8 clicks up and 4 clicks right. Turrets are marked with direction arrows (for example "UP" and "R"), and you turn them in the direction you want the bullet to move.
Fire another group after each adjustment. When the group center sits on your point of aim (or at the height your ballistics chart calls for, if you are zeroing for 200 yards at 100), you are close to done.
Step 4: Let the barrel cool
A hot barrel can shift point of impact, and a hunting shot almost always comes from a cold barrel. Give the rifle several minutes between groups; a good rule is to wait until the barrel is cool enough to hold comfortably. Leave the action open while it cools, and in the meantime, use the time to log your adjustments.
The first shot from a freshly cleaned barrel can also land away from the rest. If you cleaned the rifle before the trip, fire a fouling shot or two before you start measuring groups. Our cleaning basics guide covers how often to clean.
Step 5: Confirm zero with hunting ammo, from a cold barrel
Once you are zeroed, let the rifle cool fully and fire a final three-shot group with your hunting load. The first shot from a cold, clean barrel is the one that matters in the field, so note where it lands relative to the rest of the group.
Then record it: date, ammunition, zero distance, and the turret position. Many hunters write this on a strip of tape inside the scope cap. Avoid touching the turrets afterward unless your scope has a zero stop or you know how to return to zero.
Tip: Plan your sight-in trip a few weeks before the season opens. Ranges get busy right before opening day, and some hold sight-in days for hunters.
Practice beyond the bench
A bench zero tells you where the rifle shoots. It does not tell you how well you shoot it from field positions. Once your zero is set, take a few shots from sitting, kneeling, with shooting sticks, or prone off a pack, depending on what your hunt will look like. If you can, shoot at the distances where you expect to take game. A range with a steel target line gives instant feedback at longer distances.
Safety reminders
Follow the standard rules on every shot: treat every firearm as loaded, keep the muzzle pointed in a safe direction, keep your finger off the trigger until you are ready to fire, and know your target and what is beyond it. Bench the rifle with the action open and unloaded during ceasefires, never handle firearms while people are downrange, and obey the range officer. See range rules and commands if you are new to a public line.
Find a place to sight in
Search rifle ranges by state, or find ranges near you. Call ahead before the season, because some ranges limit bench time or hold sight-in days for hunters. When your rifle is ready, the hunting gear checklist covers the rest of your pack. If your local range is not in the directory, add it here.